Electrify Your Home
Homeowners in the SF Bay Area and across California are making the switch from fossil fuel home appliances to electrical appliances run by solar and battery storage solutions.
Learn more about this initiative and steps you can take to electrify your home and reduce your home energy costs with a zero net carbon building.

Background
California’s has established a goal to achieve carbon neutrality no later than 2045, and maintain negative emissions thereafter. Tremendous progress has already been made; the state’s emissions are already 20% below 1990 levels, there are more EVs and solar panels in California than the rest of the country combined, 34% of California’s electricity is generated from renewable power, and rigorous new construction standards are in place to ensure that new buildings will be as efficient as possible, in most cases emissions-free.
But the existing stock of residential and commercial buildings still relies heavily on natural gas for heating, hot water, cooking, pool heating and clothes drying. Retrofitting the majority of these existing buildings is a necessity in order to reduce the impact of global warming. Fortunately, the technology is in place to replace all the natural gas fueled appliances with zero emissions appliances to help you electrify your home.
The All Electric Home
Electric Appliances
EV Charger
Electric Induction Range
Rooftop Solar Power System
Heat Pump Hot Water Heater
Heat Pump HVAC System
Electric Appliances
EV Charger
Electric Induction Range
Rooftop Solar Power System
Heat Pump Hot Water Heater
Heat Pump HVAC System
Here are the steps that some of these Whole House Electric Pioneers have taken in their own homes. We hope you get to the bottom of this list so you can cap your gas meter and kick the carbon habit!
This list of steps is roughly in “fastest payback” order. For more about the paybacks of various energy saving measures, check out this White Paper entitled “Reducing Home Energy Costs.” The Energy Analysis is needed to set your priorities. Then, focus on the easy and cheap items (LED lights, sealing air leaks), followed by operating your appliances efficiently. The biggest money saving step is to install rooftop solar — many people end up with a zero electric bill. Surprisingly, because of the 30% federal tax credit and low solar costs, it is almost always cheaper to generate your own power rather than reducing your consumption with more expensive appliances. Since the 30% tax credit also applies to electrical and roofing upgrades related to solar, the solar tax credit also helps reduce these costs. Finally, steps six through ten relate to upgrading appliances. It is usually most cost effective to replace inefficient gas appliances with electric appliances when the gas appliances die. However, you will need to be prepared with a 200 amp electric service in order to fully electrify your house.
We hope you get to the bottom of this list so you can cap your gas meter and kick the carbon habit!
Step 1: Do an Energy Analysis
We used to call this an Energy Audit, but the combination of California’s relatively mild climate and efficient building standards means that traditional energy retrofit projects often don’t have the fastest payback. See “Reducing Home Energy Costs – A White Paper.”
Moreover, the plethora of plugged-in devices and hidden electricity appliances that we need for our modern society results in very high “always on “ electricity consumption. These days, with Smart Meter data, a better approach is to do an Energy Analysis based on hour-by-hour electrical use. Our favorite way to make sense out of this data is with our friends at Home Energy Analytics.
For more insight on this topic, listen to The Energy Show Podcast on Home Energy Analytics with Steve Schmidt
Step 2: Tackle the Low Hanging Fruit
It’s a no-brainer to replace all of your old incandescent and compact fluorescent bulbs with LED bulbs. Light quality is excellent, some LEDs have dimming capabilities, and paybacks are generally 1-2 years. Also, fix any air leaks you have in your building shell (leaky door and window seals) and HVAC system (leaks around duct joints). Contrary to conventional wisdom, do not use duct tape to seal your ducts – use special foil-backed taped instead. If your attic or ceiling insulation is old or non-existent, consider upgrading the easily-accessible areas to a much higher R-value. If you have a swimming pool, consider installing a variable speed pool pump instead of a conventional single speed pump. Costs are about $1,500 for a new variable speed pump, energy use is about 1/3 of conventional pumps, and your local utility may offer rebates to reduce costs even further.
Step 3: Run Appliance when Electricity is Less Expensive
Try to run the electric equipment in your house when electricity prices are low. An internet-connected thermostat is handy to schedule your HVAC use when prices are low – and these thermostats also make it easy to adjust temperatures remotely. Charge your EV at night and run your pool pump during off peak rates, and consider washing and drying clothes when rates are cheapest (often on weekends). Finally, sniff out all the vampire power loads in your house to reduce the 24×7 energy use of plugged in appliances.
Step 4: Install Rooftop Solar Power
Once you’ve done the easy and cheap energy reduction changes, in almost every case the next step is to generate your own electricity with a rooftop solar power system. Because the price of solar power systems have come down so much over the years, the payback for a rooftop solar power system is almost always faster than upgrading your appliances, adding additional insulation and installing new windows. Because the 30% tax credit also applies to battery storage systems, consider a battery backup system for power in the event of a blackout or Public Safety Power Shutoff. Note that the 30% tax credit goes down to 26% in 2020 – and this credit also applies to any other work required as part of a new solar power system, such as partial re-roofing under the solar panels or upgrading your electrical service.
Step 5: Upgrade Your Electrical Service Panel
Many homes have a 100 or 125 amp electrical service, which were entirely adequate back in the day – but cannot handle the demands of even a partially-electric household. Moreover, there is a limit to the size of the solar system you can install on these smaller electrical services (usually 20% of the amperage of the existing system). Basically, in order to add an EV charger (40 amps), heat pump HVAC (40 amps), heat pump hot water heater (15-40 amps), induction range (30 amps) or electric dryer (30 amps), it is likely that you will need to upgrade your home’s electrical service to 200 amps. Better to take care of this upgrade now, because it will take several months to complete this upgrade with your utility. If your old gas furnace or gas hot water tank dies in the middle of the winter you do not want to wait three to six months to upgrade your electrical service so that you have the electrical capacity to install a much more efficient heat pump system. As previously mentioned, if you do this electrical upgrade as part of your solar installation, you can claim the 30% tax credit on these related electrical costs. Also, carefully check for incentives or rebates for this electrical upgrade work – many utilities will help you defer these costs (because they can then sell you even more electricity).
Listen to The Energy Show Podcast on Electrical Panel Upgrades with Sue Kateley
Step 6: Install Solar Pool Heating or Solar Pool Heat Pump
If you own a swimming pool, heating a pool can consume more energy than even your HVAC equipment. As a result, most people only heat their pools occasionally (It cost me $75 in natural gas just to heat up the pool for a weekend party). The best solution to this problem is to install pool heating panels, which basically circulate water from your swimming pool into black panels mounted on your roof. Another alternative, which makes sense in some regions depending on weather and electric rates, is to use a heat pump to heat your pool.
Step 7: Replace your Gas Dryer and Range with Electric Appliances
Most homes are equipped with a 240 volt electric dryer outlet, as well as a gas connection for the dryer. At current electric and gas rates, it may make sense to convert to an electric dryer – especially if you have rooftop solar and can run your dryer during off-peak electric times. Also consider replacing your gas range with an electric induction range. These induction ranges are not the same as those old fashioned red-hot glowing coils; instead, they use magnetic induction to heat your cookware and the food within. Although many people prefer the controllability of a gas burner, everyone we have spoken with who has converted to an induction stove prefers the induction stove over gas. The one change you may need to make is to replace any of your non-magnetic aluminum cookware with magnetic stainless steel or cast iron.
Step 8: Install an Electric Vehicle Charger
Installing an EV charger is higher in the priority list if you have already purchased an EV. However, some people still get by with their 120 volt Level One EV charger. Once your electric service is upgraded you have the capacity for a 240 volt Level Two charger, which can fully charge your car up to four times faster. Some solar inverters also have an EV charger connection, which will allow you to charge your car directly from your rooftop solar system.
Step 9: Install a Heat Pump Heating and Cooling (HVAC) System
For most homes, the biggest energy use goes towards heating and cooling. Although natural gas furnaces have been the standard for almost 50 years, new combined heating/AC systems provide superior efficiency, while at the same time reducing greenhouse gas emissions. A heat pump heating system is basically an air conditioner running in reverse. New scroll-type compressors and inverter-powered motors in these heat pumps provide efficient heating even when the temperature gets down into the teens or twenties. An added benefit is that a single unit provides both heating and cooling. Options include individual room zones so that you only need to heat/cool the rooms you will be occupying, significantly reducing overall energy use. With a heat pump HVAC system you will use dramatically less gas for heating – but your electric bill will go up. Rooftop solar is a perfect complement to a heat pump HVAC system. Also, check to see if your utility offers a special “all electric heating” rate.
Step 10: Replace your Domestic Hot Water Heater with a Heat Pump Hot Water Heater
Heat pump domestic hot water heaters have been on the market for 10+ years, and are about as reliable as conventional gas hot water heaters. These heaters have a conventional insulated tank, but use a heat pump to capture waste heat in the surrounding room and convert this heat into very hot water. Note that these are not electric or gas “flash” hot water heaters, which are still quite inefficient. A side benefit is that a heat pump hot water heater will actually slightly cool the room in which they are located. Remember, when your hot water tank goes you won’t have time to upgrade your electrical service, so it is a good idea to do that electric service upgrade sooner rather than later (as well as rooftop solar).
Want to Learn More?
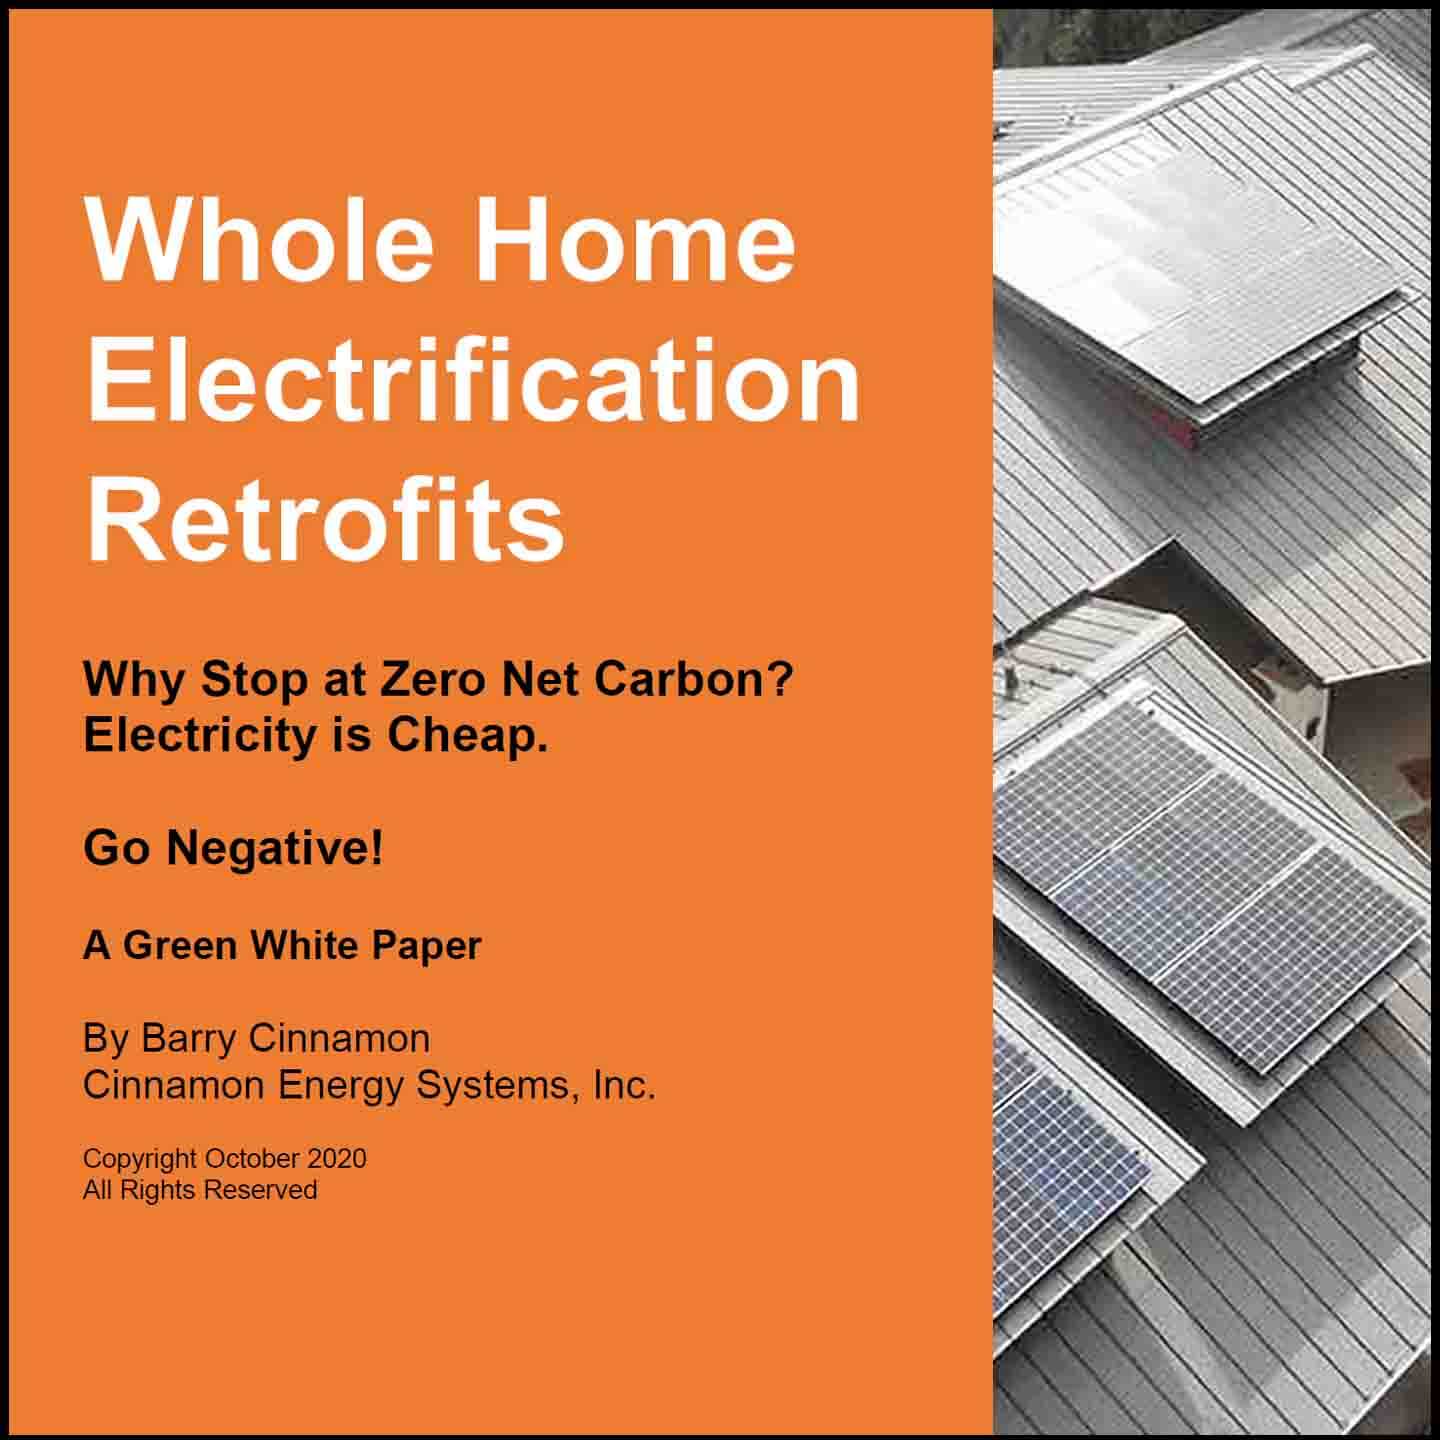
Register below to
download our free
Whitepaper
* These fields are required.

